
Yes, you can replace a shower door sweep yourself, and most jobs take 5–15 minutes with basic tools. The fastest first step is identifying how your current sweep attaches to the glass, because that single detail determines everything else: what you buy, how you remove the old piece, and how you install the new one.
Before you head to the hardware store, run through this quick checklist:
- Identify the attachment type. Look at the bottom edge of your door. You’ll see either a U-shaped channel clipped directly onto the glass (snap/clip sweep), a metal drip rail held by screws, or a glued adhesive strip.
- Measure the glass thickness. Common sizes include 1/4 inch, 3/8 inch, and 1/2 inch. A digital caliper gives you the most accurate read.
- Measure the bottom gap. Check at the left, center, and right with the door closed. Record both the narrowest and widest points.
- Note the gap size guideline. A 1/8" clearance between the sweep fin and the threshold is the standard target — enough to let the door swing freely without letting water through.
- Plan a quick tug test after install. Installers use a roughly 50 N pull (about 11 lbs of force) to confirm the seal is seated and won’t slip during normal use.
With those numbers in hand, you’re ready to buy the right part and get to work.
Key Takeaways
Replacing a shower door sweep is a straightforward DIY job when you match the profile to your glass thickness, measure the bottom gap accurately, and choose the right removal method for your attachment type.
| Point | Details |
|---|---|
| Identify before you buy | Check whether your sweep is a snap U-channel, screw-on drip rail, or adhesive profile before purchasing a replacement. |
| Measure glass thickness precisely | Use a digital caliper to confirm 1/4", 3/8", or 1/2" glass — a mismatched profile won’t grip and will fail quickly. |
| Large gaps need a threshold bar | If the widest gap exceeds 10mm, combine a 5mm threshold bar with the sweep fin for reliable coverage. |
| Test before you call it done | Perform a 50 N tug test, an open/close motion check, and a water spray test to confirm the seal holds. |
| Glassshowerdirect for repeat failures | When sweep replacements keep failing, a custom frameless panel eliminates the chronic leak cycle with a simpler seal design. |
What tools and materials do you need to replace a shower door sweep?
Gathering everything before you start saves you a mid-job trip to the store. Here’s what you’ll want on hand:
Tools:
- Tape measure and digital caliper (or feeler gauges for glass thickness)
- Utility knife and heavy-duty scissors or snips for polycarbonate
- Plastic pry bar or plastic putty knife (never metal against tempered glass)
- Flat-head and Phillips screwdrivers
- Hairdryer or heat gun on low setting
- Rubbing alcohol and clean cloths
Replacement parts and materials:
- A new sweep profile matched to your attachment type: snap-on U-channel, T-insert, bulb sweep, or fin sweep
- Profile sized to your glass thickness (1/4", 3/8", or 1/2")
- Buy slightly longer than your door width so you can trim to a perfect fit
- Clear silicone caulk for finishing touches at junctions
- Small self-tapping, galvanized or brass screws if you’re working with a screw-on drip rail
Shopping tips:
- Photograph the old sweep’s cross-section and the door’s bottom edge before you leave home.
- Bring your glass thickness measurement — visual guessing leads to returns.
- PVC and polycarbonate profiles are durable and resist hard-water buildup; rubber or silicone sweeps conform better to uneven thresholds.
- Big-box home centers like Home Depot and Lowe’s carry common profiles. Specialty online retailers often stock a wider range of profiles for frameless doors.
How do you identify your sweep profile and attachment type?
Getting this right means you’ll buy the correct replacement on the first try. There are three common attachment families, and each looks and feels different when you inspect the door.
Snap/clip U-channel (most common on frameless doors):
The sweep wraps around the bottom glass edge like a soft sleeve. You’ll see a U-shaped lip on both sides of the glass with fins pointing inward toward the threshold. There are no visible screws. The profile simply grips the glass by tension.

Screw-on drip rail (common on semi-frameless and framed doors):
A narrow metal carrier rail runs along the bottom of the door, fastened with two or more small screws. The rubber or vinyl insert sits inside the rail’s channel. You may need to look at the door’s edge-on to spot the screw heads, or check the ends of the rail where end caps sometimes hide them.
Adhesive or slide-in T/inset profiles (framed doors):
These sweeps are glued directly to the door’s bottom edge or slide into a groove in the frame. A telltale sign is a thin bead of caulk along the top of the sweep where it meets the glass or frame.
Quick visual checklist:
- No screws, U-shaped channel: snap/clip sweep
- Metal rail with visible or hidden screws: drip rail with rubber insert
- Caulk bead or glued lip, no channel: adhesive profile
- Measure glass thickness at the door’s bottom edge with a digital caliper — precise measurement reduces returns and installation problems compared with eyeballing it.
Pro Tip: Take a close-up photo of the sweep’s cross-section end (look at the door from the side) before you remove anything. That photo is worth more than any description when you’re standing in the hardware aisle.
How to remove the old sweep without damaging your glass
Safety first: wear work gloves and safety glasses. Tempered glass is tough, but a chipped edge or an aggressive metal scraper can compromise it. Go slow.
For snap/clip U-channel sweeps:
- Grip one end of the sweep firmly and pull it along the glass toward the opposite end in a smooth, steady motion.
- If it resists, work a plastic putty knife under the channel lip and nudge it free in short sections.
- Warm brittle or hardened vinyl with a hairdryer on medium heat for 20–30 seconds to make it pliable before pulling.
- Mineral deposits can bond polycarbonate tightly to the glass — use a plastic putty knife and low heat to soften stubborn adhesive, and avoid metal blades against tempered glass.
For screw-on drip rails:
- Locate all screws along the rail. Check both ends and underneath any end caps.
- Loosen each screw slightly before removing any of them — this keeps the rail from dropping and scratching the threshold.
- Remove screws fully, lift the rail away, then slide out the rubber insert. Keep the screws in a small cup so they don’t roll into the drain.
- Drip edges are often held by screws but sometimes by silicone caulk; if yours is caulked, score the bead with a utility knife before lifting.
For adhesive or caulked sweeps:
- Run a utility knife along the top edge of the sweep to cut the caulk bead.
- Apply gentle heat with a hairdryer to soften the adhesive, then peel the sweep away in short sections.
- Wipe residue with rubbing alcohol and a clean cloth until the glass surface is completely clean and dry.
Safety callout: If you find deep nicks on the glass edge, or if the old seal shatters into brittle fragments rather than peeling cleanly, stop. Clean up any loose pieces carefully and consider calling a professional before proceeding.
Pro Tip: When removing a drip rail, loosen the screws to finger-tight rather than pulling them out completely. That lets you reposition the rail up or down before committing to final tightening, and you won’t lose screws down the drain.

How do you measure the door and cut the replacement to the right length?
Accurate measurements here prevent two of the most common problems: a sweep that’s too short and leaves a gap at one end, or one that’s too long and causes the door to bind.
- Door width: Measure corner to corner with the door fully closed. This is your cut length target.
- Glass thickness: Use a digital caliper at the bottom edge of the glass. Common sizes are 6mm (1/4"), 8mm (5/16"), 10mm (3/8"), and 12mm (1/2"). Matching profile to glass thickness is essential — a profile sized for 3/8" glass won’t grip 1/2" glass securely.
- Bottom gap: Measure the gap between the door’s bottom edge and the threshold at three points: left, center, and right. Record both the narrowest and widest measurements.
If your widest gap is significantly larger than your narrowest, you have an uneven threshold. When the maximum gap exceeds about 10mm, combining a 5mm threshold bar with an appropriate seal fin delivers better coverage than relying on an extra-long fin alone, which creates drag at the narrow end.
Cutting the replacement:
- Mark your cut line with a felt-tip pen, leaving the sweep 1–2mm longer than the door width for a snug fit.
- Use heavy-duty snips for polycarbonate U-channels; a sharp utility knife works well for smaller rubber fins.
- For polycarbonate, score deeply and snap cleanly to avoid jagged edges.
- Clamp the sweep to a stable surface before cutting, and wear gloves — freshly cut polycarbonate edges are sharp.
- Leave 1–3mm of U-channel visible beyond the glass edge per manufacturer guidance so the fin can flex naturally against the threshold.
How do you install the new sweep correctly for each attachment type?
With the door prepped and the replacement trimmed to length, installation goes quickly. The method depends on which profile type you’re working with.
Snap/clip U-channel (frameless doors):
- Dry-fit the sweep by holding it against the glass bottom to confirm length and fin orientation — fins should angle inward toward the threshold, not outward.
- Apply a thin film of soapy water to the inside of the channel to reduce friction.
- Starting at the hinge side, press the U-channel onto the glass edge and work toward the latch side in 3–4" sections.
- Hold the seal up, mark the length, cut, dry-fit, then snap the U-channel onto the glass and confirm fin orientation.
- Use a hairdryer on low heat to ease any sections that resist seating fully.
Screw-on drip rail:
- Position the rail at the correct height so the fin makes light contact with the threshold when the door is closed.
- Use existing screw holes where possible. If new holes are needed, use the rail’s pre-drilled positions in the frame — never drill into tempered glass.
- Fasten screws snugly but not overtight; the rail should sit flush without bowing.
- Slide the rubber insert into the rail’s channel from one end and trim the insert flush at both ends.
Adhesive/peel-and-stick profiles:
- Wipe the glass surface with rubbing alcohol and let it dry completely — any moisture or residue will prevent adhesion.
- Peel back a few inches of backing and press the sweep into position, working slowly along the length to avoid air bubbles.
- Allow the adhesive to cure per the manufacturer’s instructions before running water.
After installation, check these three things:
- The fins make light contact with the threshold but don’t drag or cause the door to stick.
- There’s roughly 1/8" clearance at each end to allow for thermal expansion.
- Perform a 50 N tug test — grip the sweep and pull with moderate force. It should stay firmly in place.
Pro Tip: Run the door open and closed five times before doing the water test. If you feel resistance or hear scraping, trim the fin slightly with scissors rather than forcing the door. A dragging sweep wears out fast.
Should you adjust the existing sweep or replace it entirely?
Sometimes the sweep itself is fine and just needs repositioning. Other times, no amount of adjustment will fix a cracked or compressed seal.
Adjust if:
- The sweep has crept upward and left a gap — loosen the drip rail screws evenly, lower the rail until the fin contacts the threshold lightly, and re-tighten. Loosening screws to lower the sweep back into place resolves many leaks without any new parts.
- The fin is intact, flexible, and simply out of position.
- The screw holes are undamaged and the rail itself is straight.
Replace if:
- The material is cracked, split, or crumbles when you try to peel it.
- The fins are permanently compressed and don’t spring back when you press them.
- Adhesive has failed more than once on the same profile.
- The widest gap exceeds the fin’s effective reach even at maximum extension.
A quick loosen-and-lower fix on a slipped drip rail takes under five minutes and costs nothing. Brittle vinyl that breaks apart during removal tells you the material has reached the end of its life — replacement is the only lasting fix.
How do you fix leaks that persist after installing a new sweep?
A new sweep stops most leaks, but water is persistent. If you still see puddles after installation, work through this checklist.
- Run a targeted water test. Aim a hand shower at the bottom of the door from multiple angles, including directly at the gap and at the side edges. Watch from outside the door to pinpoint exactly where water exits.
- Check contact along the full length. Slide a thin piece of paper under the sweep with the door closed. If it passes through easily at any point, the fin isn’t making contact there.
- Inspect the end stops. Water often sprays sideways along the floor at the door’s ends. A small dab of clear silicone caulk at each end of the drip rail junction seals this path.
- Add a threshold bar for large gaps. If your gap exceeds 10mm at any point, a 5mm threshold bar combined with the sweep fin gives you the coverage a fin alone can’t provide. See the frameless shower door leaks at bottom guide for a detailed walkthrough of common leak paths.
- Apply a small silicone bead at the drip rail’s top junction where the rail meets the door frame, if water is tracking upward behind the rail.
When to call a professional: If you’ve installed the sweep correctly and water still leaks from multiple points, the problem is likely structural. An uneven floor that prevents the fin from contacting the threshold fully, a warped door, or visible glass edge damage are all situations where a pro’s assessment is worth the call.
How often should you replace a shower door sweep?
Regular care extends the life of any sweep significantly, and a little monthly attention prevents the kind of mineral buildup that turns a five-minute swap into a 30-minute scraping session.
Maintenance routine:
- Wipe the sweep dry after each shower to slow mineral buildup.
- Clean with a non-abrasive cleaner monthly — avoid bleach-based products, which degrade rubber and vinyl faster.
- Lightly lubricate flexible sweeps every six months with a silicone-based spray to prevent hardening, especially in hard-water areas.
- Check for water spots on glass shower doors at the same time — mineral deposits on the glass often signal the sweep is working harder than it should.
Signs it’s time for a replacement:
- Visible cracking or splitting along the fin
- Fins that stay flat when pressed and don’t spring back
- Persistent leaks after adjustment
- Sticky mineral buildup that won’t clean off
Typical replacement intervals: Vinyl sweeps generally need replacing every 2–3 years with normal use. Higher-grade rubber, silicone, and PVC profiles tend to last 3–5 years, depending on water quality and how often the shower is used. Hard water shortens both ranges noticeably.
When does replacing the sweep stop being enough?
Sometimes the sweep isn’t the real problem. If any of the following apply to your door, a full replacement may be the more practical path.
- The bottom glass edge is chipped or nicked. No sweep can seal reliably against a damaged edge, and a chipped edge on tempered glass is a safety concern.
- The door is badly out of plumb. A gap variance greater than 10mm from one side to the other means the door itself is misaligned. Repeated sweep replacements will keep failing until the alignment is corrected.
- You’ve replaced the sweep two or more times in 12 months and leaks return each time. The problem is structural, not the seal.
- The frame or threshold is corroded beyond repair. Rust or corrosion in the frame prevents any sweep from seating properly.
When fixing the seal doesn’t solve the leak, the underlying cause is often an uneven threshold, a warped door, or damaged glass edges — and these are valid reasons to consider replacing the whole door rather than continuing a cycle of repeated repairs.
A new frameless door eliminates the chronic leak cycle entirely. Frameless designs also make future sweep replacements easier because the U-channel profile is straightforward to access and swap. Glassshowerdirect’s installation how-to video walks through what a full frameless door replacement actually involves, so you can judge whether it’s within your comfort zone before committing. Understanding when a door replacement is the right call versus a DIY fix can save you significant time and money in the long run.
The part most homeowners get wrong
Most DIY shower sweep repairs fail not because the job is hard, but because of a handful of avoidable mistakes. Rushing the removal and reaching for a metal scraper is the most common one. Tempered glass looks tough, but a metal blade dragged along the edge can scratch or nick it, and a nicked edge is a stress point. Plastic tools and a little heat do the same job without the risk.
The second mistake is mismatching the profile. Buying a sweep that fits 1/4" glass for a door with 3/8" glass seems like a small error, but a loose U-channel won’t grip, and the sweep will slide off within days. Measure with a caliper, not your fingers.
The third mistake is treating silicone as a substitute for the correct dynamic sweep. Caulk is a finishing touch for static junctions — it’s not a replacement for a properly fitted fin that flexes with every door swing. Over-caulking a sweep area can actually trap moisture and accelerate mold growth behind the seal.
When a pro is genuinely worth it: if the job requires cutting or drilling into the frame, if there’s visible glass edge damage, or if you’ve already replaced the sweep twice and leaks persist, a professional assessment is the smarter move. Simple swap-outs are high-value DIY jobs. Structural fixes, threshold leveling, or navigating the real challenges of door replacement are a different category entirely.
Ready for a permanent fix? Consider a custom frameless door
If your shower door has reached the point where repeated sweep repairs feel like a losing battle, a custom frameless glass panel from Glassshowerdirect is a cleaner solution. Frameless doors use a simple U-channel sweep that any homeowner can swap in minutes, so future maintenance stays easy. There are no corroded metal frames to work around and no complex drip rail systems to disassemble.
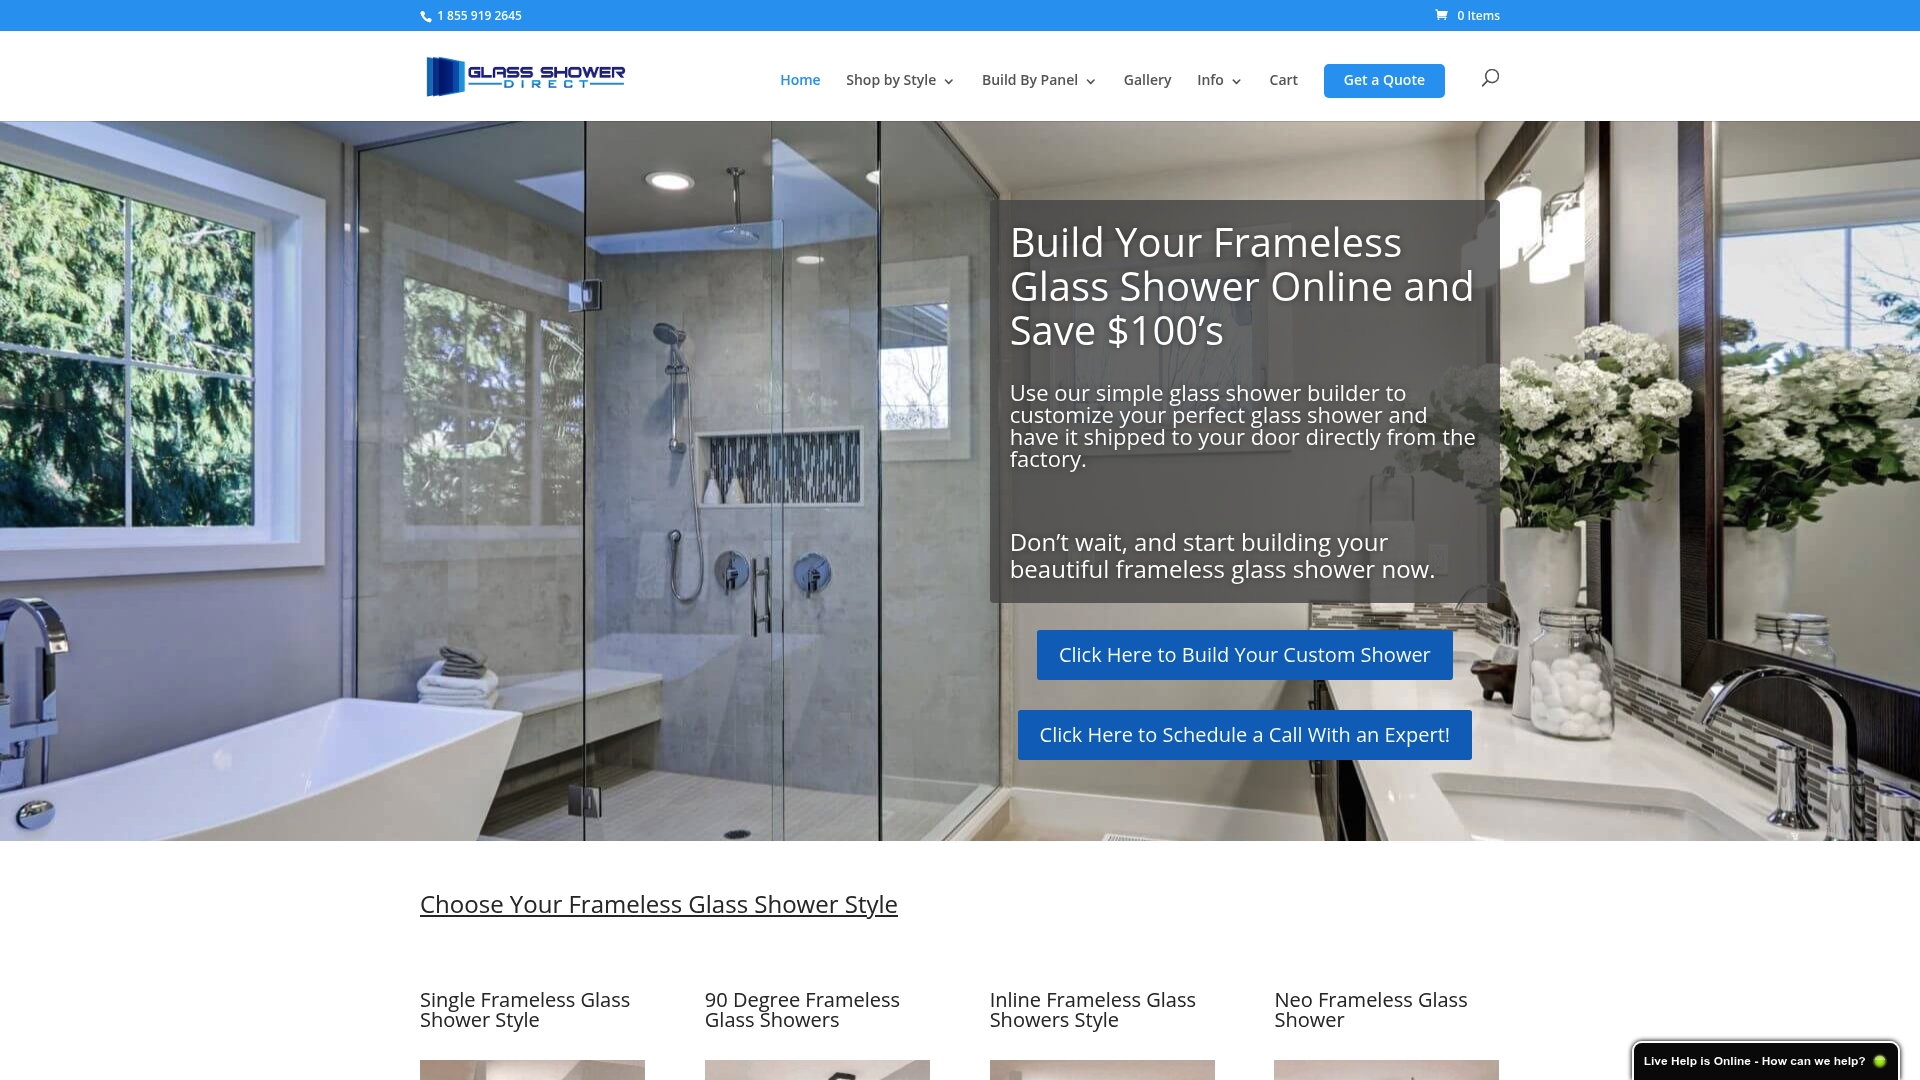
Glassshowerdirect ships made-to-order frameless panels directly to your door, cut to your exact dimensions. You skip the showroom markup and get a door built for your specific opening. Browse the single glass panel options to see sizing and configuration choices, or use the custom door builder to spec out your replacement. The how-to installation video shows the full process so you can decide if it’s a project you want to take on yourself.
Sources
Reference guides:
- How to Replace Shower Door Bottom Seal: 2025 DIY Guide – HOROW
- How to fix your leaky shower door – Review Journal
- Rapidrepair
- Easy Diy Guide: Replacing Your Shower Door Bottom Seal Strip | CyShower
- How to Fix an Uneven Gap Under a Shower Door: Selection guide – Simba International Limited
Where to buy replacement sweeps:
Bring your glass thickness measurement and a photo of the old sweep’s cross-section end whenever you shop. Those two details cut the guesswork and get you the right part on the first visit.