
A confident DIYer with a helper, the right tools, and solid wall backing can absolutely install a frameless shower door. Most standard hinged or sliding frameless enclosures are within reach of a capable homeowner who takes measurements seriously and follows the kit-specific sequence step by step.
That said, this is a moderate-to-difficult project. Here’s what to expect before you commit:
- Difficulty: Moderate to difficult. Frameless systems are less forgiving than framed ones because there’s no metal frame to hide small errors.
- Time: Plan for 4–8 hours across one or two days for a DIY install. A professional typically finishes the same job in about 2–4 hours on-site, plus cure time.
- Red flags that mean you should call a pro: Walls more than a few 1/8-inch increments out of plumb, missing structural blocking at hinge or anchor locations, or a damaged substrate (crumbling cement board, soft drywall behind tile).
A single frameless glass door typically weighs between 60 and 100 pounds, so a second person is non-negotiable for safe handling. Neutral-cure silicone meeting ASTM C920 is the sealant of choice for glass-to-tile and metal-to-glass seams, and it needs a full 24–48 hours to cure before the shower sees any water.
Key Takeaways
A confident DIYer with a helper, solid wall backing, and the right tools can complete a standard frameless shower door installation in 4–8 hours across one or two days, but pre-install checks on plumb, blocking, and substrate are the most important predictors of success.
| Point | Details |
|---|---|
| Verify blocking before ordering | Confirm solid 2×4 backing at every hinge, clamp, and header anchor location before you measure or order glass. |
| Glass weight requires two people | A single frameless door weighs 60–100 pounds; always use glass suction cups and a helper for every lift. |
| Silicone sealing rules | Seal exterior seams with ASTM C920 neutral-cure silicone; leave the inside bottom edge open for drainage and allow 24–48 hours to cure. |
| Plumb tolerance is tight | Walls more than a few 1/8-inch increments out of plumb require shimming or custom-cut glass to prevent binding. |
| Glassshowerdirect simplifies ordering | Use the online builder to configure custom dimensions and hardware, then reference the installation video and support team during the install. |
What should you check before frameless shower door installation begins?
Most failed DIY installations happen before a single drill hole is made. Contractors consistently point to three pre-install failures: skipping the plumb check, not verifying blocking, and measuring from the wrong reference point. Get these right and the rest of the job flows naturally.
How to measure your opening correctly
Always measure from the shower curb, not the bathroom floor. Tile thickness and curb height vary enough that measuring from the floor can introduce a critical sizing error. Take three width measurements: at the curb, at mid-height, and at the top of the opening. Record the smallest of the three. That’s the number you order to.
Measure height from the curb surface to the underside of the ceiling or header. Take measurements to the nearest 1/16 inch. Frameless glass is cut to exact dimensions, so even a 1/4-inch error can mean the panel won’t fit or will bind.
Plumb, level, and structural backing
Walls notably out of plumb often require shims, filler strips, or custom glass to prevent binding and leaks. Use a 4-foot level on each wall surface. A variance of up to 1/8 inch over the full height is generally workable with shimming. Beyond that, you’re looking at custom glass or professional intervention.

Manufacturers require solid 2×4 blocking at every hinge, clamp, and header anchor location. Fasteners need at least 1-1/4 inches of thread engagement into solid wood to carry the load of a heavy glass panel safely. Tap the wall and use a stud finder to confirm backing is present before you order anything.
| Pre-Install Check | Acceptable Tolerance | Action If Out of Range |
|---|---|---|
| Wall plumb (per 4-ft level) | Up to 1/8 in. variance | Shim hinge mounts or order custom glass |
| Opening width consistency | Measure at 3 heights; use smallest | Order to smallest dimension |
| Structural blocking at anchors | Solid 2×4 at hinge/clamp/header | Add blocking before ordering |
| Curb level | Level across full curb width | Re-level or use adjustable threshold |
| Drain pitch | Slopes toward drain | Correct before tile or substrate work |

Pro Tip: If your walls are more than 3/8 inch out of plumb over the full height of the opening, order custom glass with a tapered cut rather than shimming excessively. Stacked shims behind a hinge plate create leverage that stresses the glass over time.
What tools and materials do you need?
Gather everything before day one. A mid-job hardware run is the fastest way to lose momentum and make mistakes.
Tools checklist
- 4-foot level (essential for plumb and level checks)
- Tape measure
- Drill/driver with variable speed
- Diamond-tipped or carbide tile drill bits (standard twist bits will crack tile)
- Caulk gun
- Rubber mallet
- Glass suction cups (at least two, rated for the panel weight)
- Torque wrench or driver with adjustable clutch
- Pencil and painter’s tape for marking drill points
- Safety glasses and cut-resistant gloves
Materials checklist
- Glass panels (ordered to your measured dimensions)
- Hinges, clamps, or rollers (per your system type)
- U-channel or threshold
- Neoprene gaskets and setting blocks
- Neutral-cure silicone sealant (ASTM C920 rated)
- Appropriate anchors for your substrate: toggle anchors for tile over drywall, concrete screws or sleeve anchors for tile over cement board
- Painter’s tape for drilling
Safety note: OSHA PPE guidance recommends appropriate eye, hand, and foot protection when drilling and handling heavy glass panels. Wear closed-toe shoes throughout the install.
A single frameless door can weigh 60–100 pounds, which means glass suction cups and a second person aren’t optional. They’re the difference between a clean install and a trip to the emergency room.
Step-by-step frameless shower door installation sequence
Follow this sequence whether you’re installing a hinged pivot door or a sliding bypass system. The branching points for each system type are called out within the steps.
-
Dry-fit all parts. Lay out every component on a padded surface before touching the walls. Confirm you have all hardware, that glass dimensions match your opening measurements, and that the hinge or roller positions align with your blocking locations.
-
Install the base track or U-channel. Set the threshold or U-channel on the curb. Check it for level. Apply a bead of neutral-cure silicone underneath before final placement. Press firmly and wipe excess. Let this set for at least an hour before loading weight on it.
-
Mark and drill anchor points. Place painter’s tape over each drill location on tile. Use a diamond-tipped bit at low speed with light downward pressure to start the hole. This prevents the bit from skating across the tile surface and reduces cracking risk. Once through the tile, switch to a standard masonry bit to complete the hole into the substrate. Insert anchors appropriate for your wall type.
-
Mount side jambs or hinge plates (hinged systems). Attach jambs loosely. Do not fully torque fasteners yet. You need room to adjust alignment once the glass is in place. Hardware tightened before final alignment can lock in misalignment and stress the glass.
-
Set fixed panels on setting blocks. Place neoprene setting blocks at the base of the U-channel. Lower the fixed panel into position with your helper. Setting blocks distribute the glass weight evenly and prevent point loads that could crack the panel.
For sliding systems: Install the top track first, then hang rollers on the track before lowering the door panel into the bottom guide.
-
Attach the header or support bar (if required). Some frameless enclosure designs use a header bar across the top for rigidity. Attach it to the jambs or wall anchors per the manufacturer’s spec. Check that it’s level before tightening.
-
Hang the door and check reveals. With your helper holding the door, attach hinges or drop rollers into position. Check the reveal gap (the space between the door edge and the fixed panel or jamb) at the top, middle, and bottom. It should be consistent. Adjust hinge or roller positions until the reveal is even, then torque all fasteners to the manufacturer’s specified values.
-
Install door sweeps and seals. Attach the bottom sweep to the door’s lower edge. Press neoprene seals or magnetic strips into place along the vertical edges. These control water without requiring a rigid frame.
-
Apply silicone to exterior seams. Seal exterior vertical seams and the curb-to-panel junction with neutral-cure silicone, but leave the inside bottom edge of the door unsealed. That gap is your drainage path. Sealing it traps water and causes leaks.
-
Allow full cure before use. Silicone needs 24–48 hours to cure completely before the shower is used. Rushing this step is one of the most common reasons new installs leak.
Pro Tip: Watch the Glassshowerdirect installation how-to video before you start. Seeing the sequence in motion, especially the hinge alignment and silicone application steps, makes the written instructions click in a way that’s hard to replicate on paper.
How do you safely handle heavy glass panels?
Glass handling is where DIY installs most often go wrong physically. A 70-pound panel that shifts unexpectedly can injure a hand, crack the glass, or damage finished tile. Treat every lift like it matters, because it does.
Two-person lift, always. One person controls each end of the panel. Communicate before every move: “lifting on three,” “rotating now,” “setting down.” Glass suction cups give you a secure grip on a surface that offers nothing else to hold. Use cups rated for the panel weight and check that they’re fully seated before lifting.

Stage the glass on a padded surface or foam blocks at a comfortable working height before the install begins. Never lean a panel against a wall unsupported. Glass can slide without warning, and the edge will do serious damage to anything it contacts.
OSHA’s PPE guidance is clear: eye protection, cut-resistant gloves, and closed-toe shoes are required when handling glass and operating drills. This isn’t overcautious. Glass edges, even factory-polished ones, can cut through skin with minimal force.
When drilling, protect finished tile by placing a small piece of painter’s tape at the drill point and keeping drill speed low. Collect drilling dust with a damp cloth immediately. Fine silica dust from tile is abrasive and can scratch glass surfaces or grout if left to spread.
Pro Tip: Place a folded moving blanket on the shower curb before sliding any panel into position. It protects the curb finish and gives the glass a soft landing point while you adjust alignment.
What goes wrong and how do you fix it?
Even careful installs hit snags. Knowing what to look for, and what to do about it, saves you from a full teardown.
Common failure modes
- Door binds or drags: Usually caused by walls out of plumb or a header that isn’t level. Check plumb on both side walls with a 4-foot level. If the reveal is wider at the top than the bottom (or vice versa), the hinge plates need shimming or the rollers need adjustment.
- Leaks at the curb: Almost always a missed or overcaulked drainage path. Check that the inside bottom edge is unsealed. If silicone was applied there, carefully score and remove it.
- Cracked tile at drill points: Wrong bit type or too much speed. Diamond-tipped bits at low speed with painter’s tape prevent this. If tile is already cracked, stop drilling, assess the damage, and replace the tile before continuing.
- Screws pulling out of the wall: No blocking behind the anchor point. This is a structural problem. Remove the hardware, open the wall, add 2×4 blocking, patch the tile, and reinstall.
- Roller skipping off the track (sliding systems): Track isn’t level or rollers aren’t fully seated. Re-level the top track and re-seat each roller before adjusting the bottom guide.
Diagnosis checklist
Check plumb on both walls. Check reveal consistency at top, middle, and bottom. Confirm rollers are fully seated in the track. Verify the bottom guide is centered under the door panel. Look for common measurement and structural mistakes that glass installation projects share, including anchoring into hollow wall sections.
How long does installation take, and what does it cost?
Setting realistic expectations up front keeps the project from running into a second weekend.
Time estimates
A professional installer typically completes a standard frameless setup in about 2–4 hours on-site. For a DIYer, expect 4–8 hours spread across one or two days, accounting for careful measuring, drilling, alignment adjustments, and the mandatory silicone cure window before the shower is usable.
Cost breakdown
Glass and hardware costs vary based on panel size, glass thickness, and hardware finish. Professional labor for a frameless install typically runs $200–$600 depending on your region and the complexity of the enclosure. Get at least three quotes from licensed installers if you’re considering hiring out.
These aren’t rare. They’re just part of older homes.*
For a full picture of how frameless costs compare to framed alternatives, the cost comparison guide at Glassshowerdirect breaks down where the money actually goes.
Where can you find reliable installation manuals and standards?
Following kit-specific documentation matters more than any generic guide, including this one. Manufacturers specify fastener types, torque values, and sealing sequences for their exact hardware. Deviating from those specs can void warranties and, more importantly, create unsafe conditions.
The National Glass Association’s Frameless Shower Enclosure Design and Installation Manual is the industry reference document that professional installers use to identify unsafe designs and confirm required blocking locations. It covers glass thickness requirements, hardware load ratings, and sealant specifications.
Key resources to have on hand before you start:
- Your kit manufacturer’s installation manual (download it from the manufacturer’s website before ordering)
- National Glass Association frameless enclosure manual for design and blocking standards
- ASTM C920 sealant specification (referenced on most neutral-cure silicone packaging)
- OSHA PPE guidance for eye, hand, and foot protection requirements
My honest take on DIY vs. hiring a pro
The DIY vs. professional question for frameless shower door installation comes down to one thing more than any other: your walls. If your shower opening is reasonably plumb, has solid blocking behind the tile, and the substrate is in good shape, a capable DIYer with a helper can get this done well. The steps aren’t mysterious. The tools are accessible. The sequence is logical.
Where I see people get into trouble is when they skip the pre-install checks because they’re eager to get started. Frameless glass is unforgiving in a way that a framed door simply isn’t. A framed door hides a lot of sins behind its metal border. Frameless glass exposes every variance in your walls, your curb, and your drilling. That’s not a reason to avoid it. It’s a reason to spend the first hour of your project doing nothing but measuring, checking plumb, and confirming your backing.
If your walls are significantly out of plumb, if you can’t confirm blocking at the hinge locations, or if you don’t have a second person to help with the glass, hire a professional. The cost of a pro install is far less than the cost of a cracked panel or a hinge that pulls out of the wall. Glassshowerdirect’s installation support team can also help you work through measurement questions before you order, which removes a lot of the guesswork from the process.
Ready to order your custom frameless enclosure?
Glassshowerdirect makes the ordering side of this project straightforward. You measure your opening using the method described above, use the online design tool to configure your panel dimensions, glass finish, and hardware style, and the door ships directly from the factory to your door. No showroom markup, no intermediary.
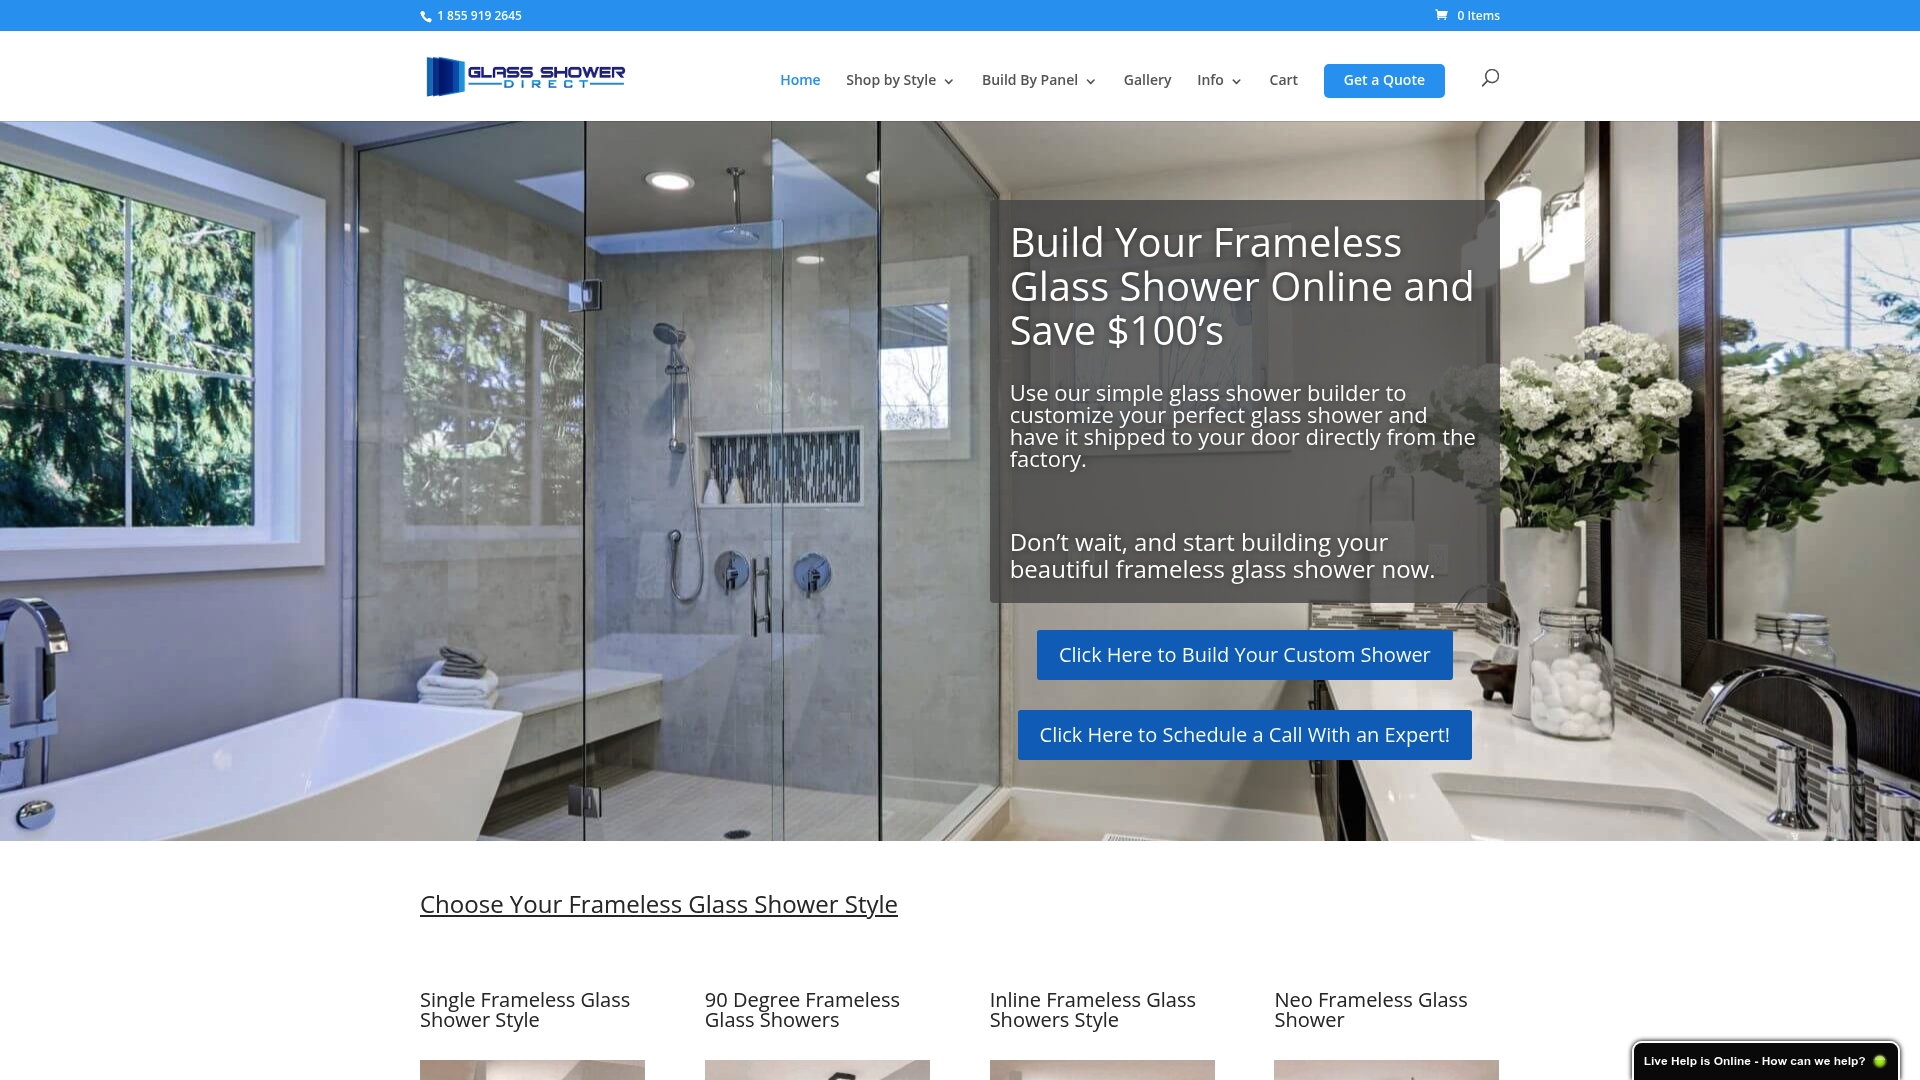
The single glass shower panels page is the right starting point if you’re replacing one panel or adding a fixed side panel to an existing enclosure. For a full enclosure with configurable hardware, the frameless enclosure builder walks you through every option, including easy-clean coatings that resist hard-water film and make post-install maintenance genuinely simple. Once your order is placed, the installation how-to video gives you a visual guide to the full sequence. If you hit a question during measuring or installation, Glassshowerdirect’s support team is available to help you work through it.
Sources
- How to install your own glass shower doors | The Seattle Times
- How To Install A Shower Door – This Old House
- How to Install a Glass Shower Surround
- Frameless Glass Installation | Basco Shower Doors
- Osha